The Artist's Studio: How to Clean Oil Paint Brushes Like a Pro
Here at Casso, we know that the quality of a brush directly impacts the texture and soul of a painting. Whether you favor stiff hog bristles or delicate sable, knowing how to clean oil paint brushes is a mandatory skill for any artist. Today, I’m inviting you into my studio to share my exact post-painting brush care routine.
Why Proper Cleaning is Non-Negotiable
High-quality oil paint brushes are an investment. If left uncleaned or cleaned incorrectly, dried linseed oil paint will destroy the structure of the bristles, causing them to splay, harden, and ultimately become useless. Proper cleaning not only extends the life of your brushes but also ensures that your colors remain pure and your strokes stay precise for your next masterpiece.
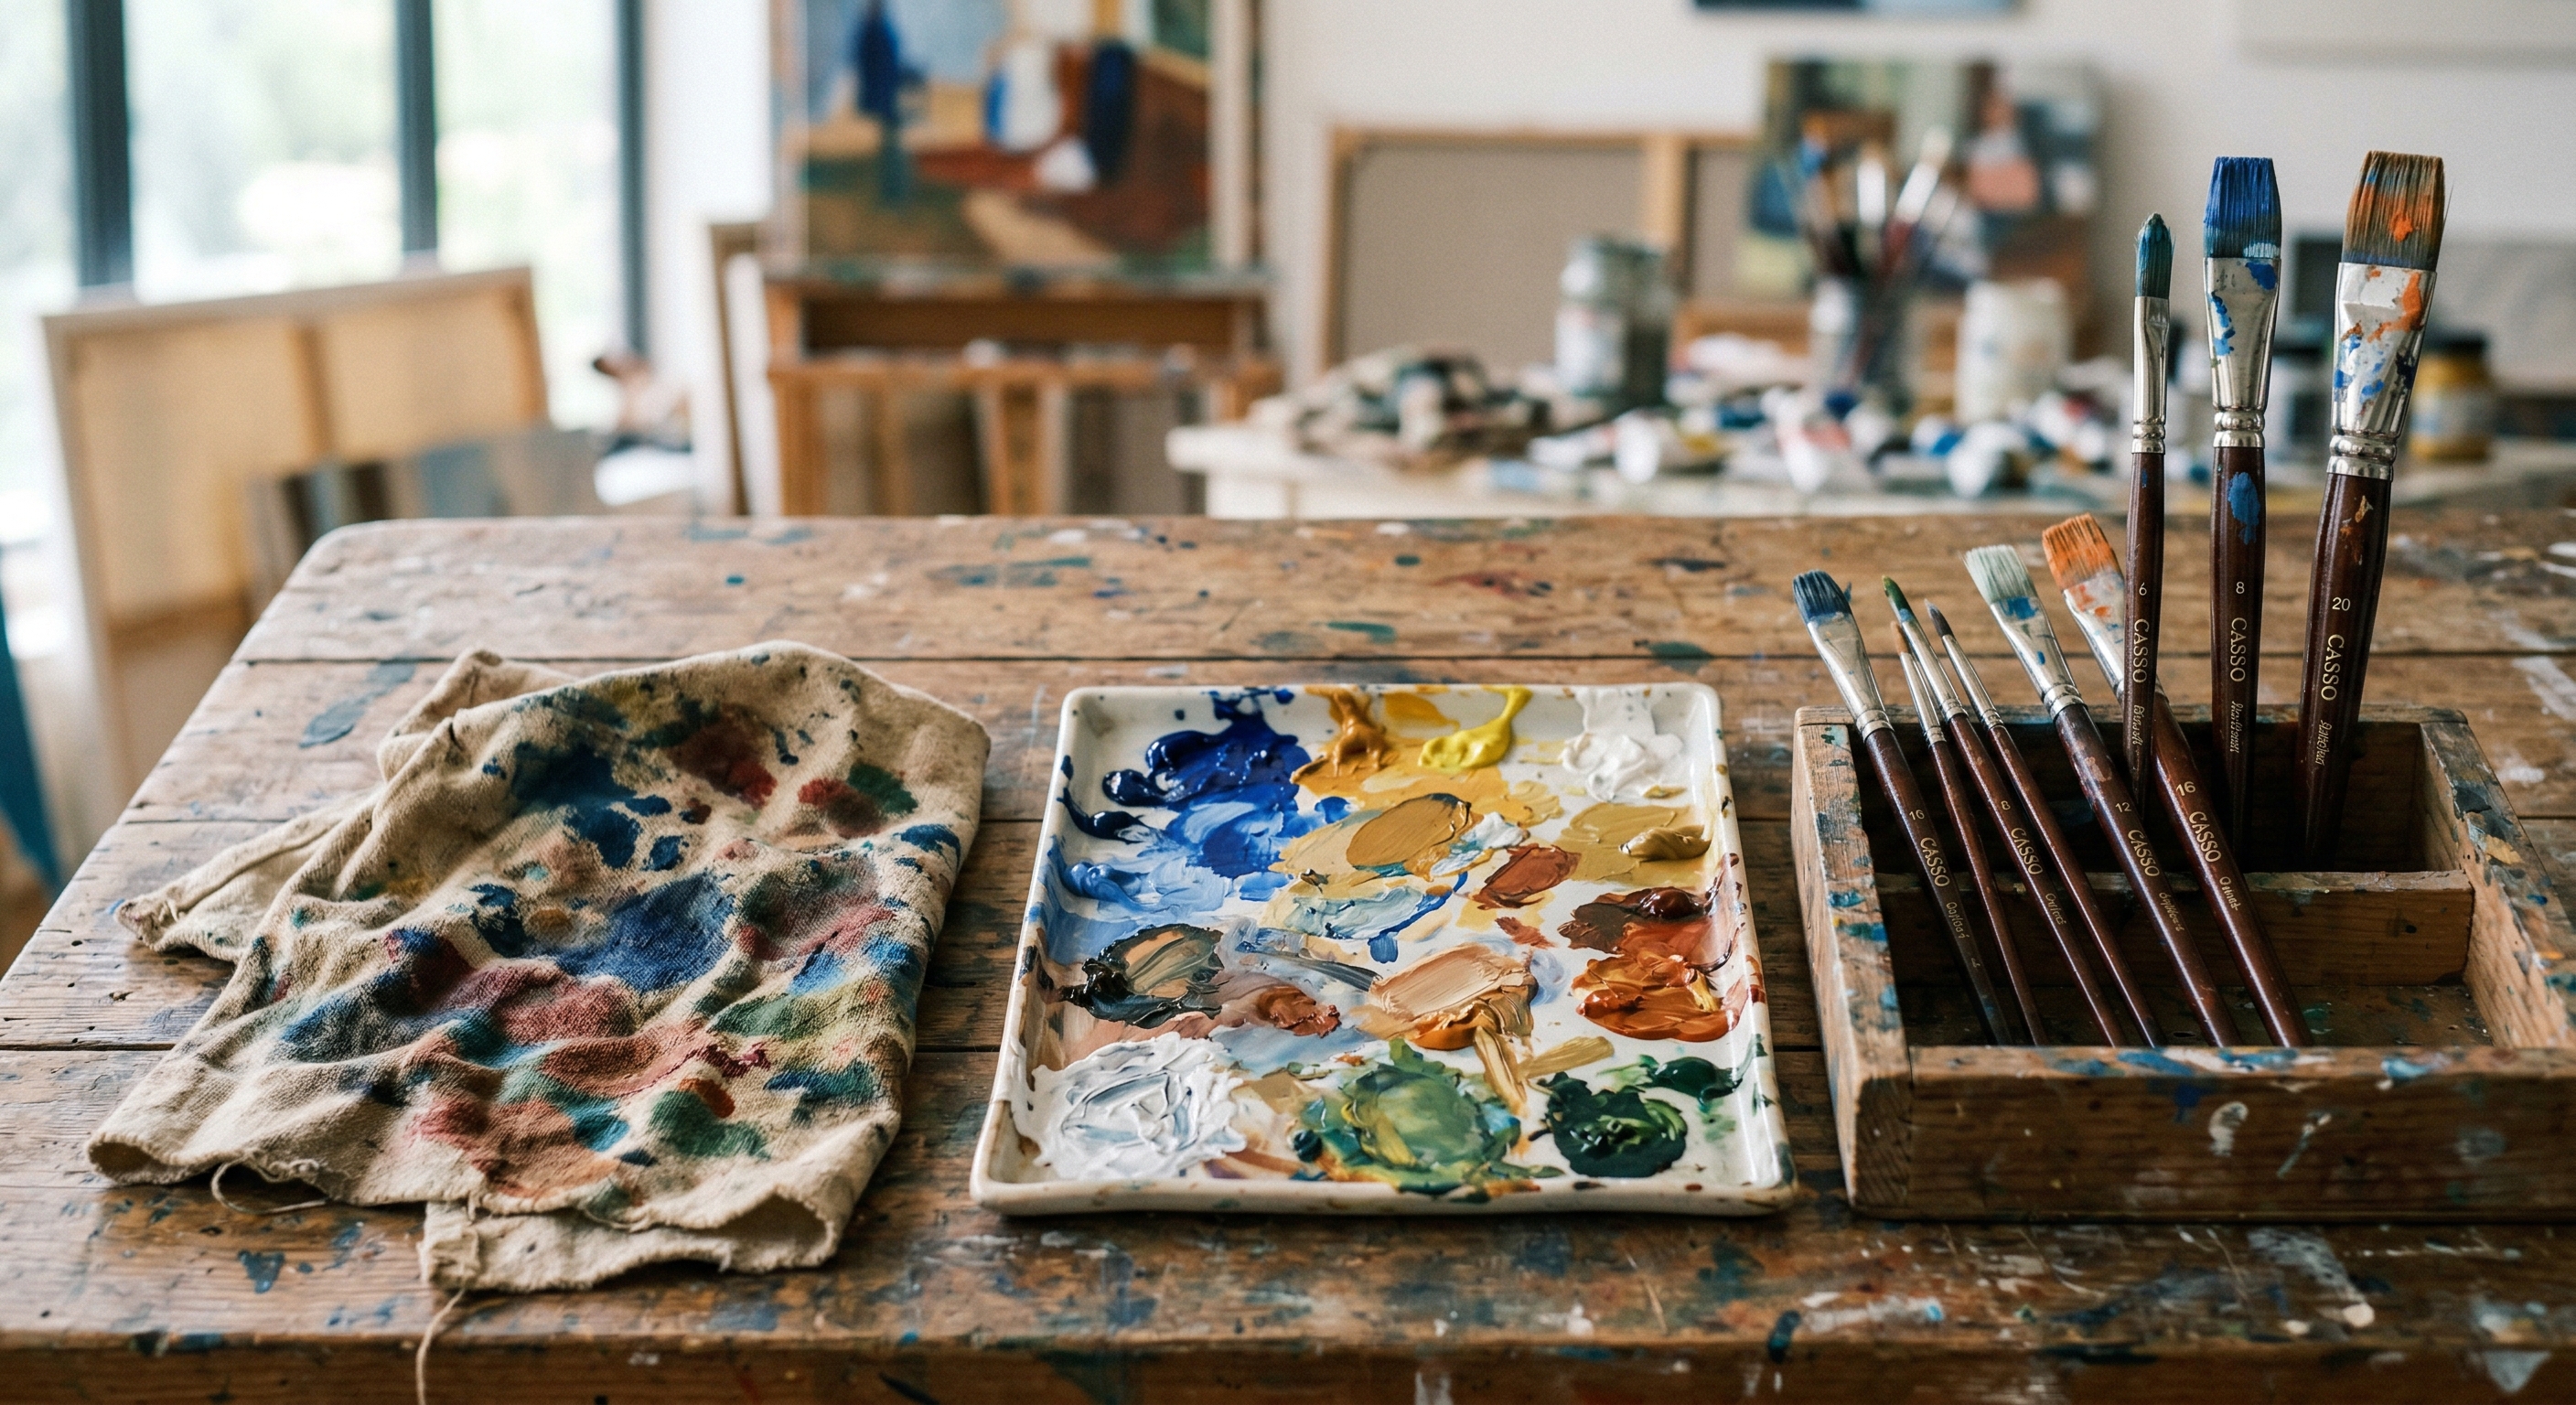
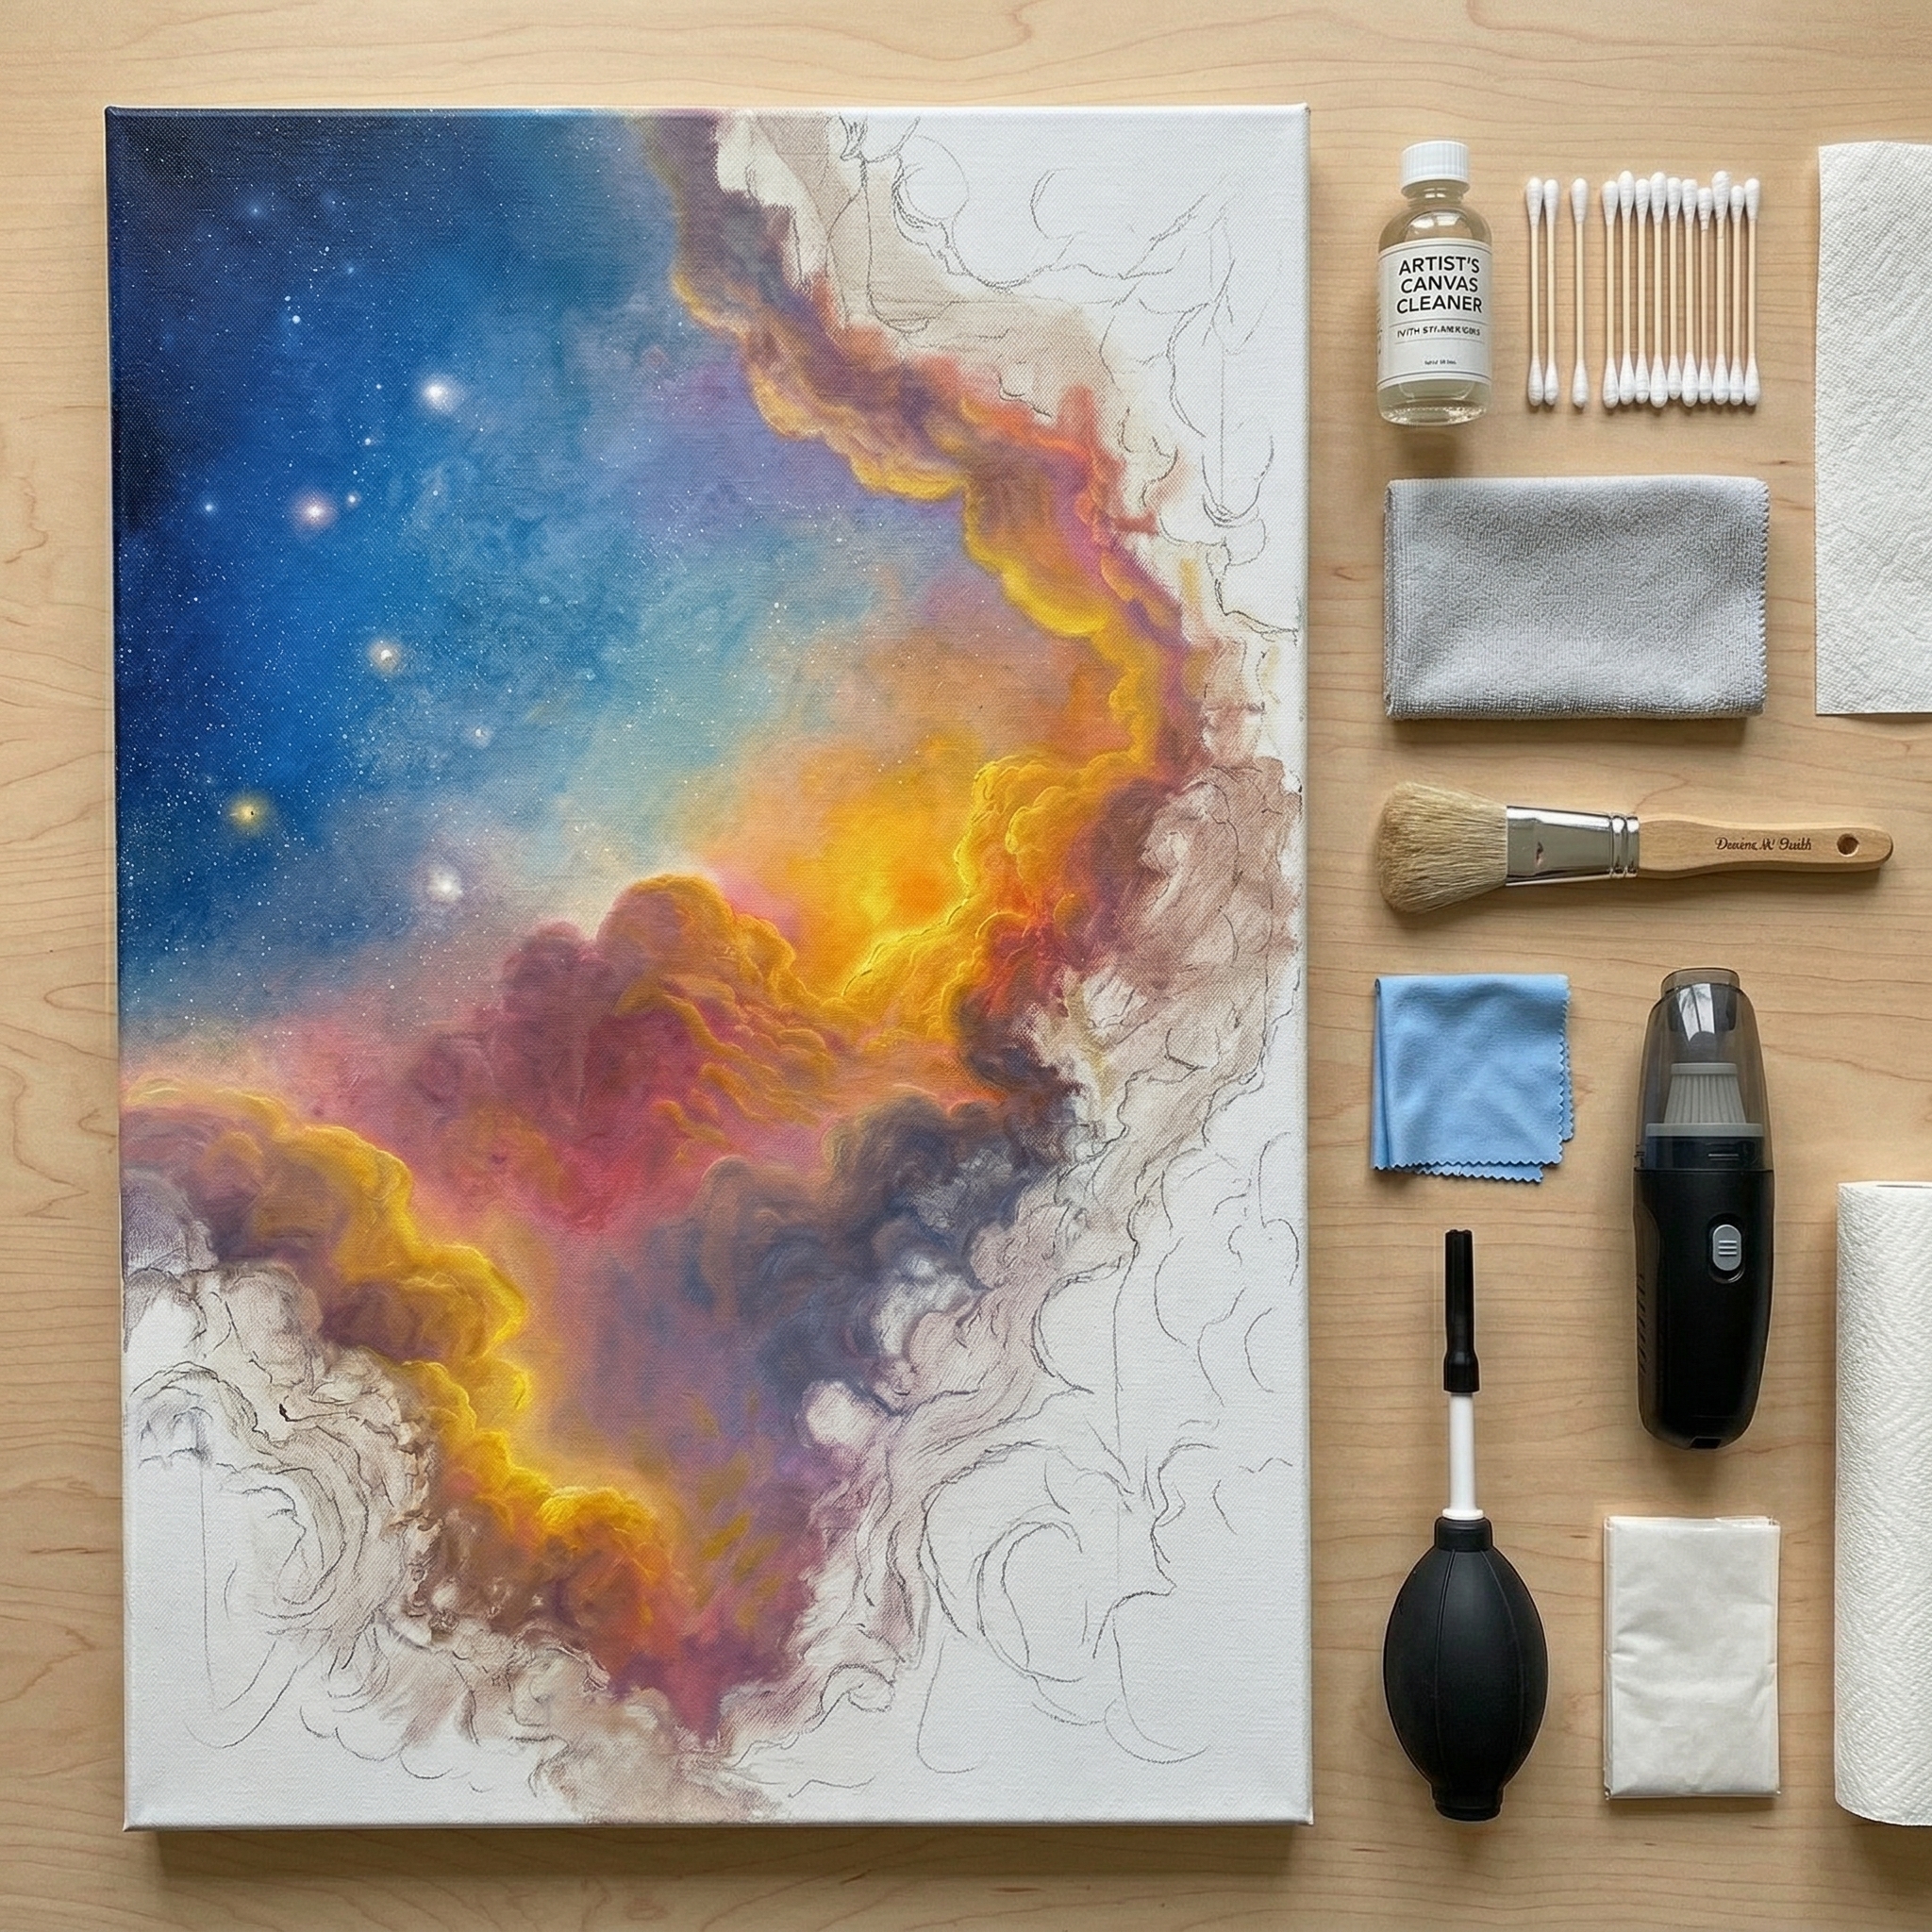
The Artist’s Cleaning Arsenal
Before we begin, make sure you have the following essential oil painting supplies ready at your workstation:
-
Cotton rags or heavy-duty paper towels
-
Odorless Mineral Spirits (OMS, like Gamsol) or an eco-friendly brush dip
-
Artist's brush soap (or a mild olive oil soap/dish detergent)
-
Two brush washing jars (one with a cleaning coil/screen at the bottom)
The 4-Step Deep Clean Method
Step 1: The Physical Wipe-Down (Crucial First Step)
Never throw a paint-loaded brush directly into your solvent! First, use a rag or paper towel to pinch the ferrule (the metal part) and firmly pull towards the tip of the bristles. Wipe off as much excess paint as possible. Removing 80% of the paint manually will save your solvent and reduce environmental waste.
Step 2: Solvent Dissolution
Dip the wiped brush into your jar of Odorless Mineral Spirits. Gently swish the bristles against the coil or screen at the bottom of the jar. This allows the solvent to penetrate the base of the bristles and break down the stubborn linseed oil paint.
Artist's Secret: Never mash the brush vertically into the bottom of the jar. This will permanently ruin the shape of the brush head.

Step 3: The Soap and Warm Water SPA
Solvents remove the paint, but they also strip the natural oils from natural hair brushes, leaving them dry and brittle. Therefore, washing with soap is absolutely essential. Wet your brush soap, and gently swirl the brush in the palm of your hand to work up a rich lather. Rinse with lukewarm water (never hot, as it can melt the glue inside the ferrule). Repeat the swirling and rinsing process until the soap suds are completely white and clear of any pigment.
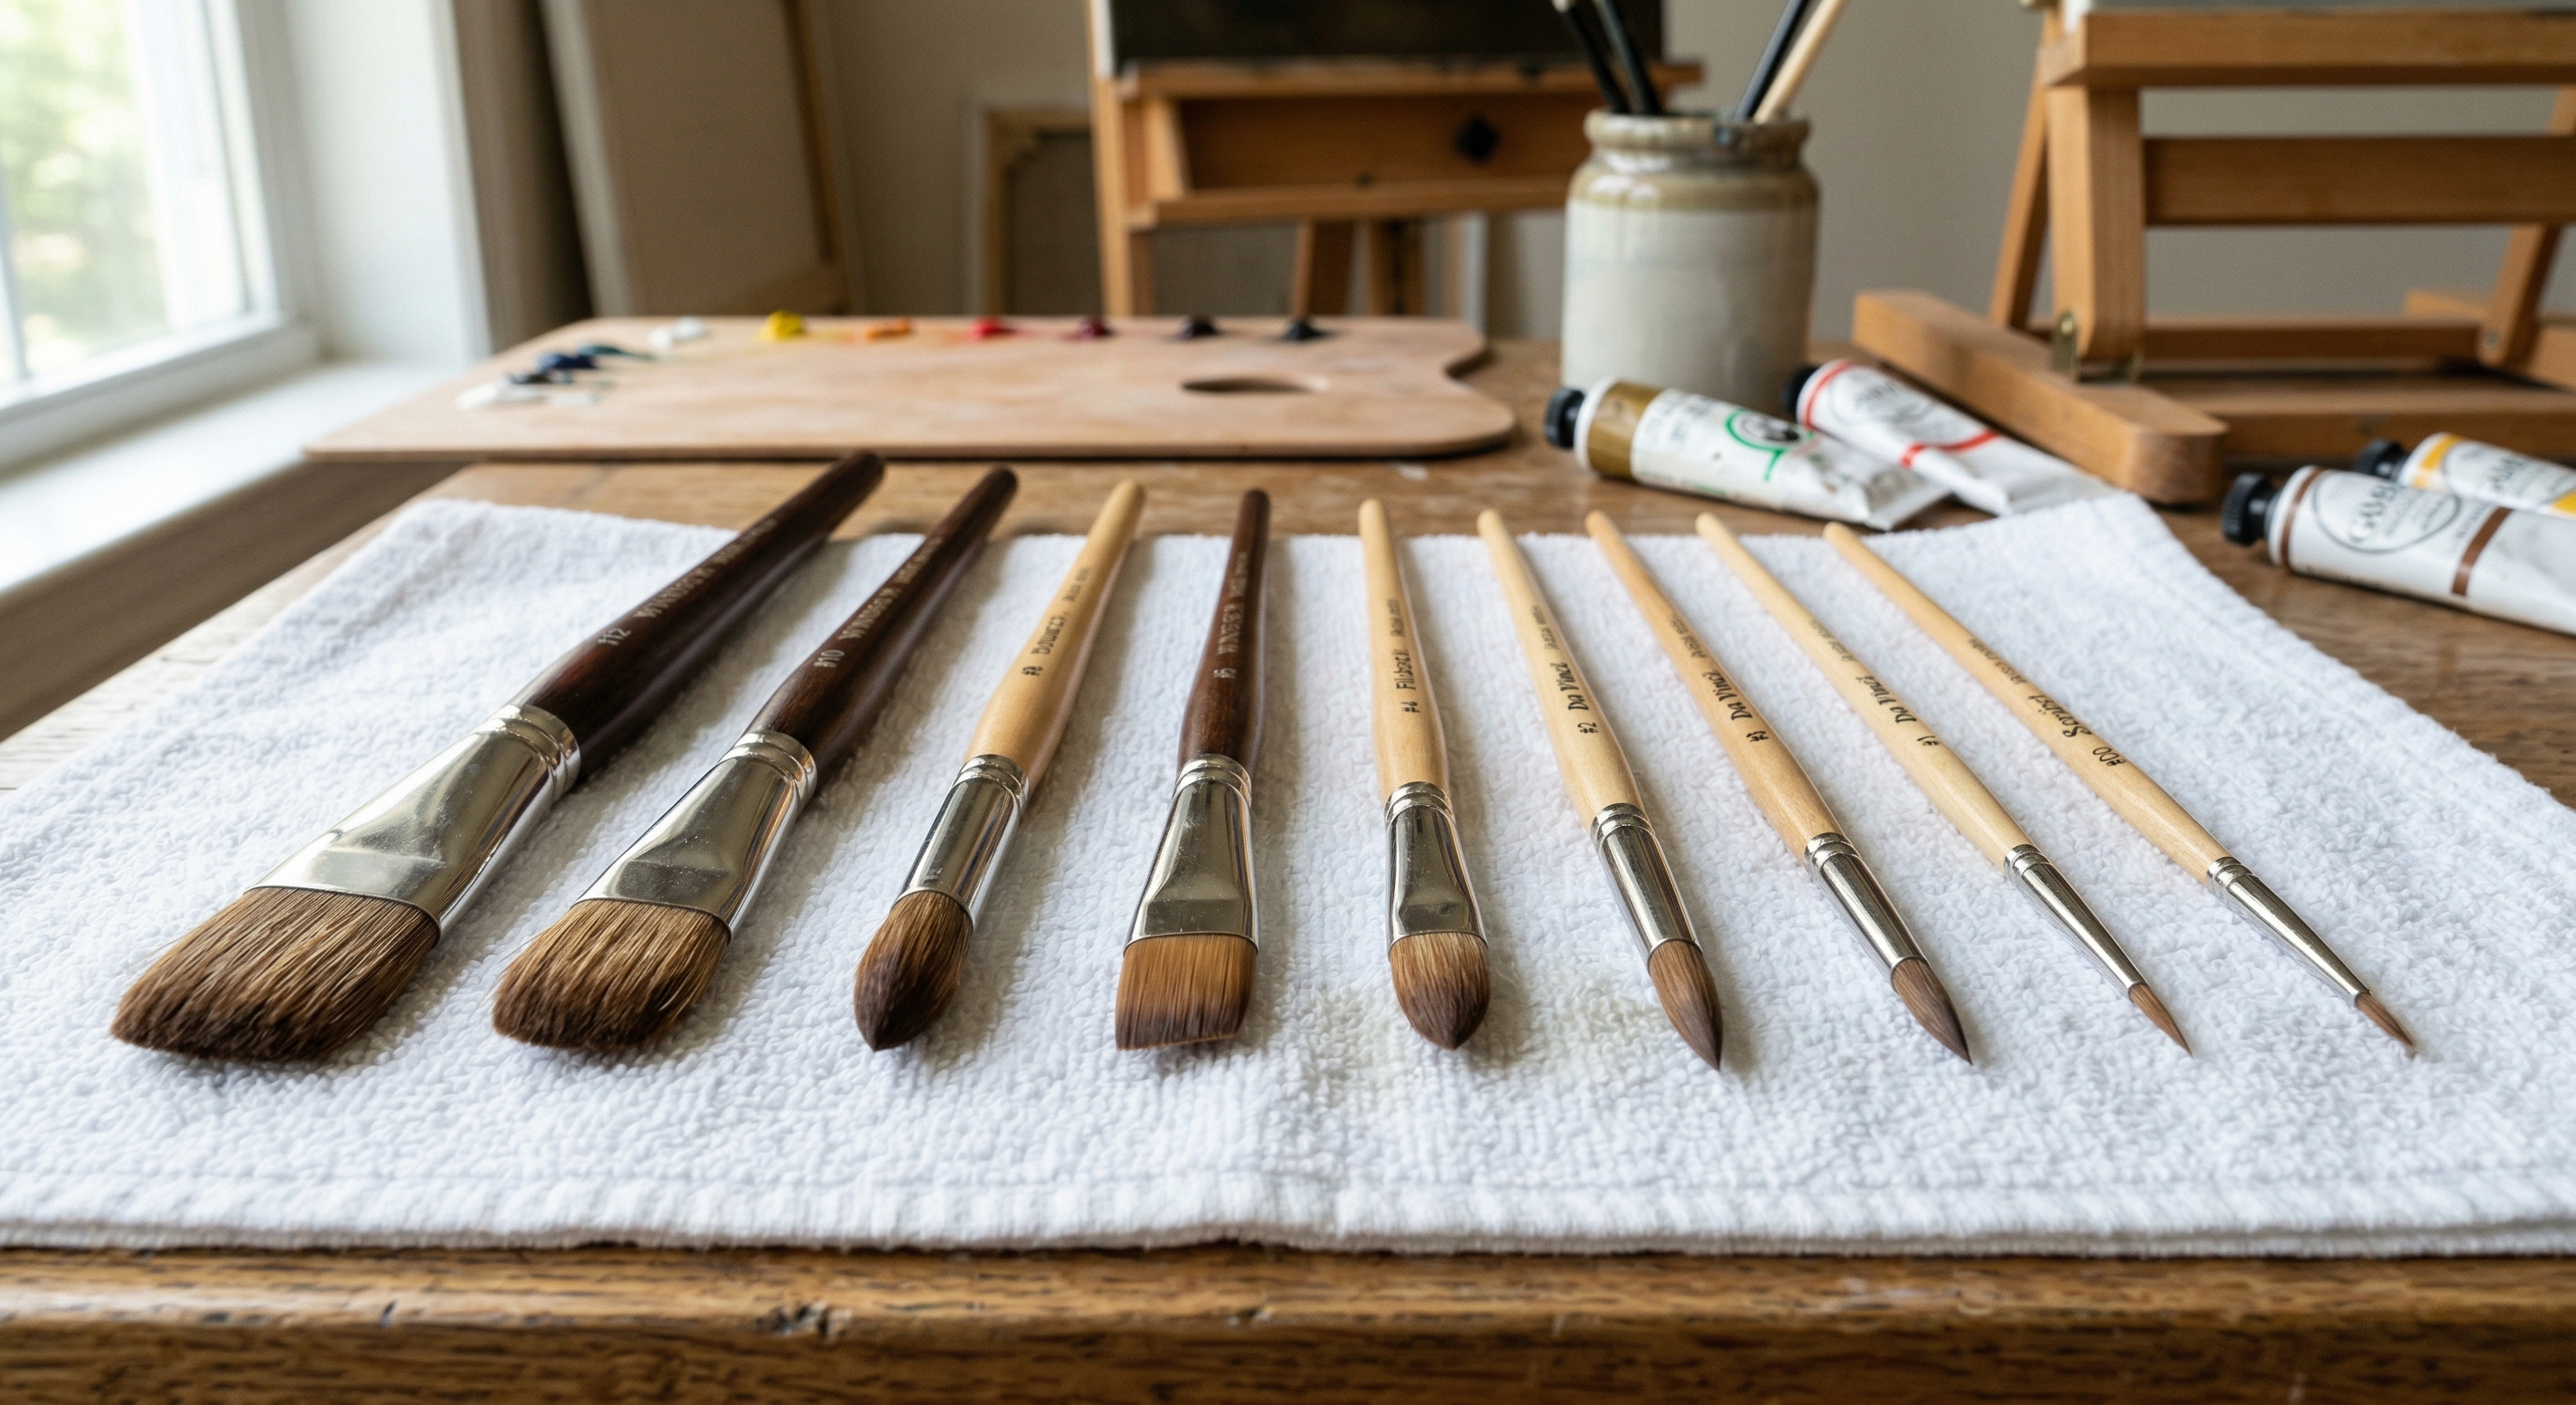
Step 4: Reshape and Air Dry
Use a paper towel to gently squeeze out the excess water. Then, use your fingers to reshape the bristles back into their original form (flat, round, or filbert). Finally, lay the brushes flat on a towel or hang them upside down in a well-ventilated area to dry. Never dry your brushes standing upright in a jar. Gravity will pull leftover water down into the ferrule, causing the wooden handle to swell, crack, and loosen.
Final Thoughts
At Casso, we believe that every touching hand-painted oil artwork begins with a well-cared-for brush. Cleaning your brushes isn't just a chore; it's a part of the artistic ritual and a sign of respect for your tools. Now that you know exactly how to clean oil paint brushes, you can paint with absolute freedom, knowing your tools will always be ready for you.
The next time you pick up a brush to create, you'll thank yourself for taking the time to clean it properly today. Happy painting!
Blog
-

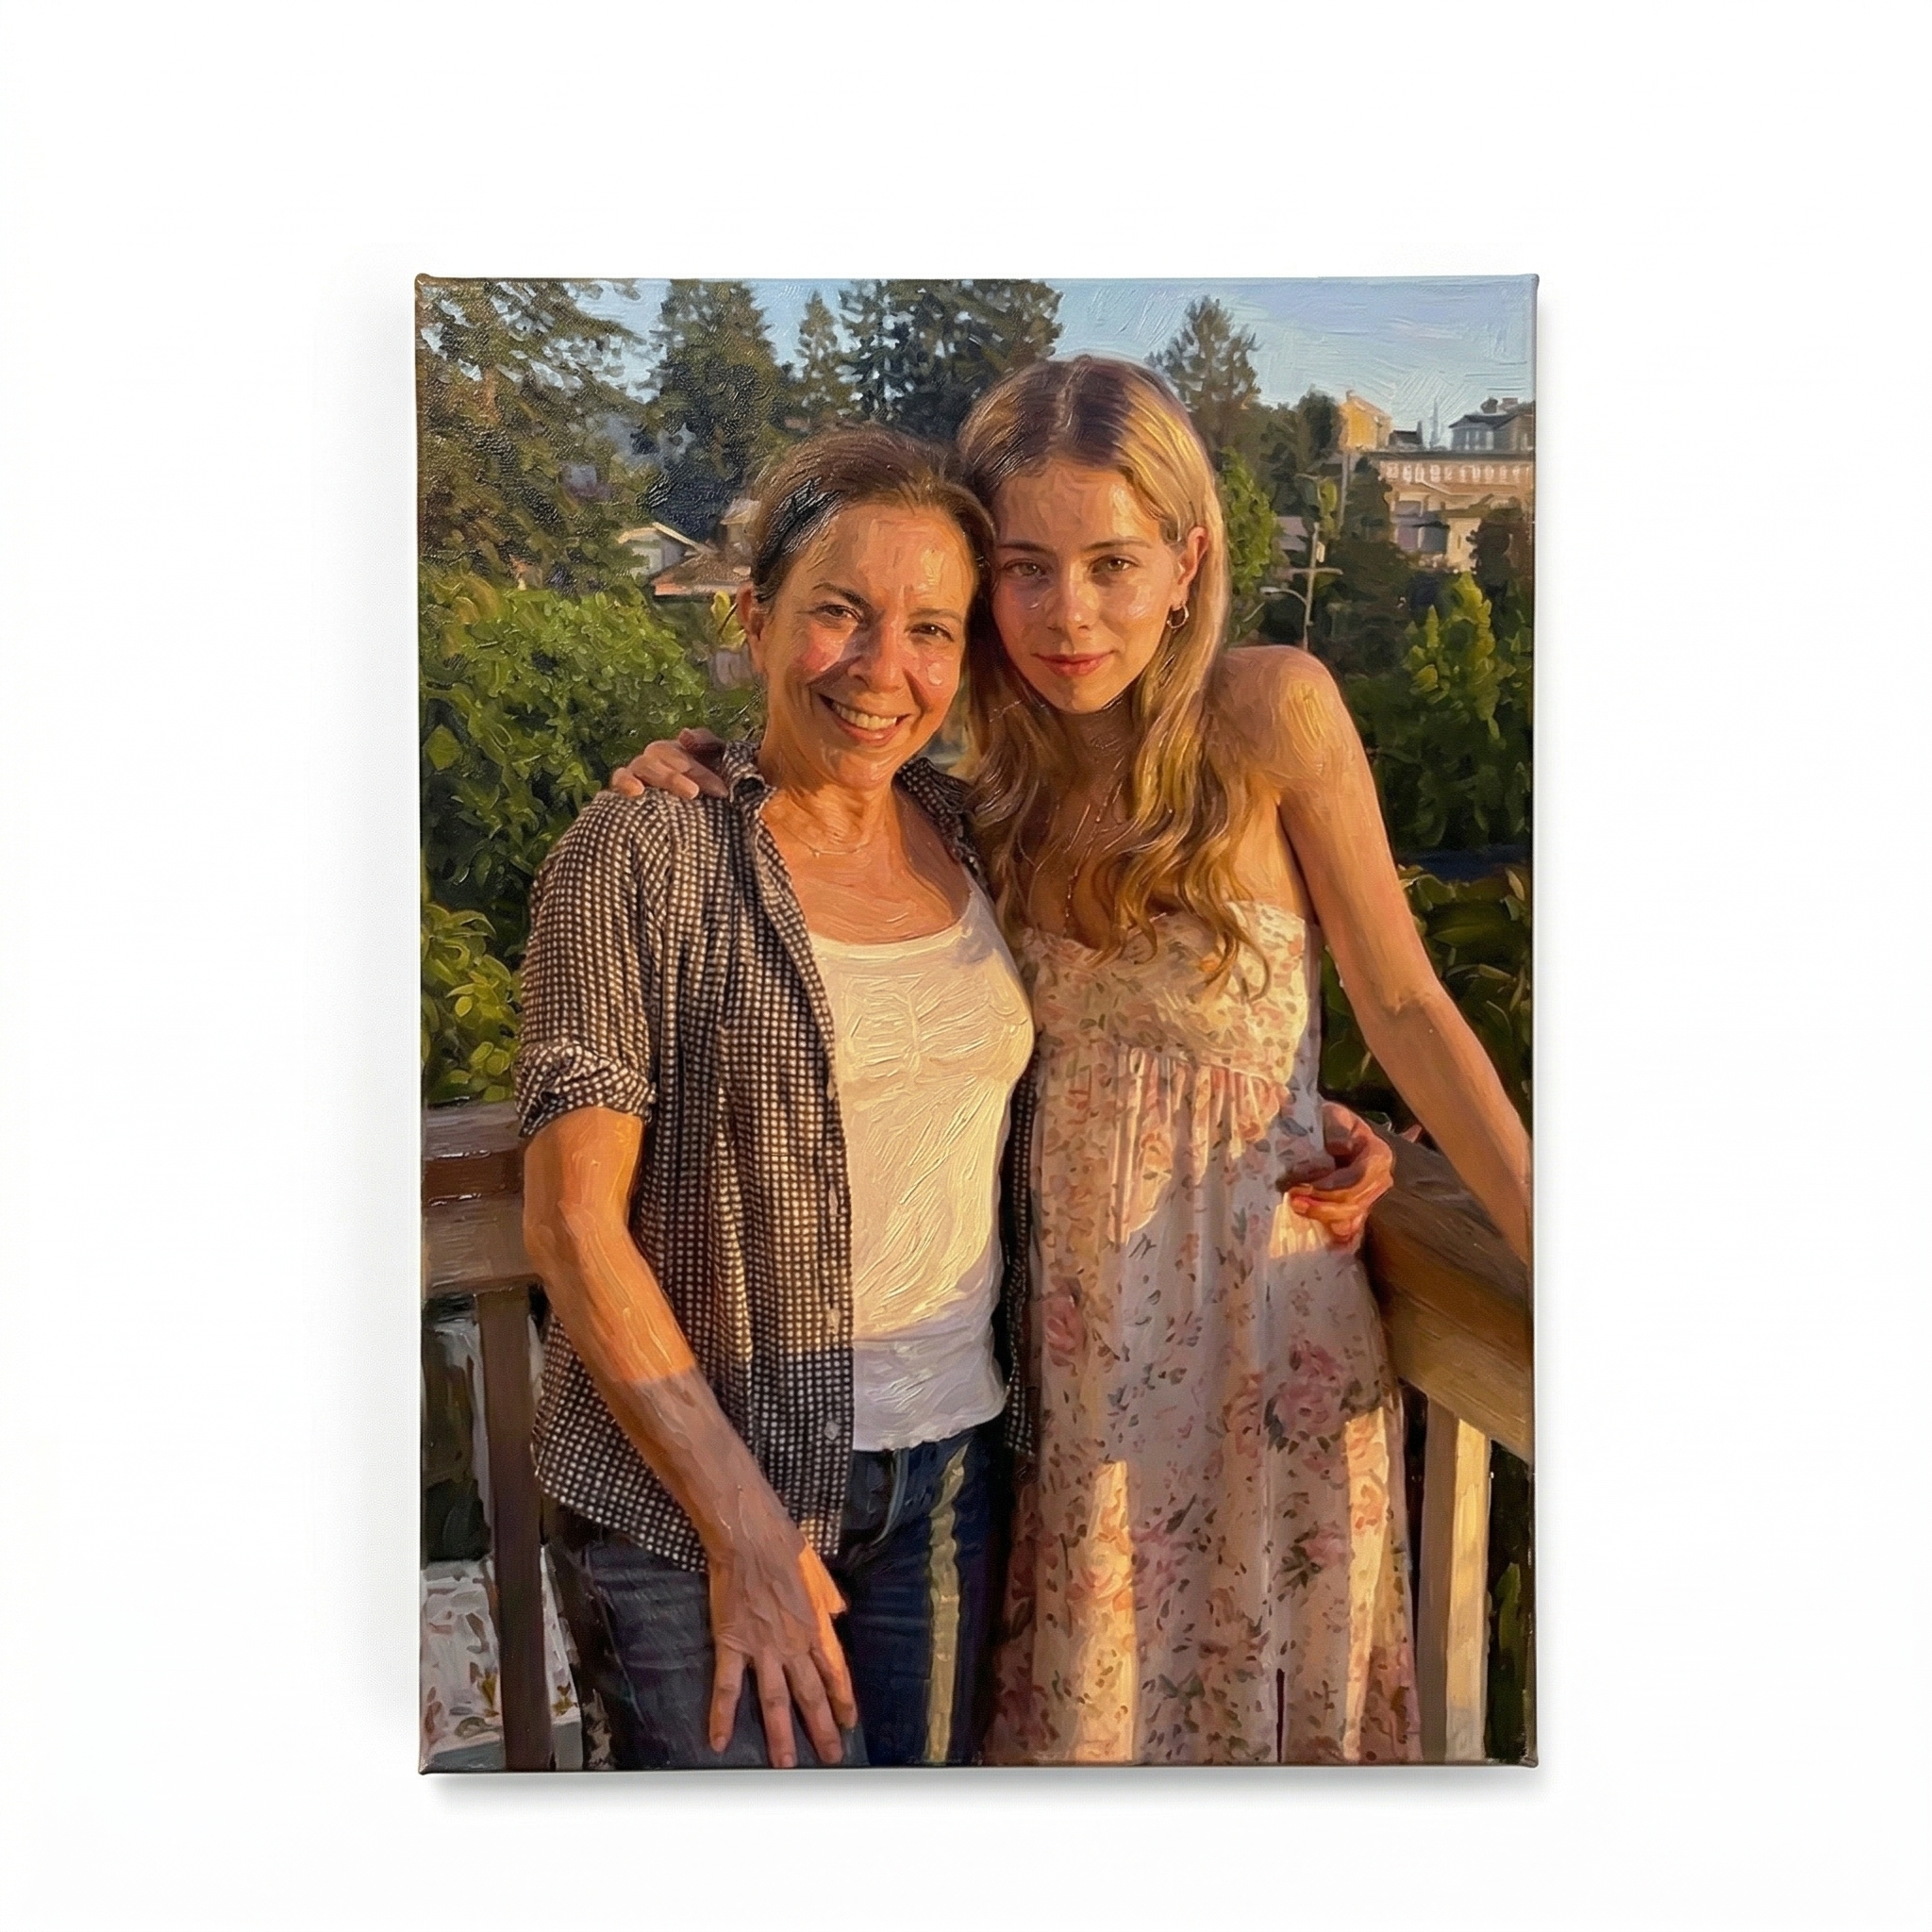
What Do Moms Want Most for Mother's Day? The Ultimate Guide to Meaningful Art by Casso
Struggling to find the perfect present? Discover what do moms want most for mother's day. Explore how a Casso hand-painted oil painting makes the ultimate sentimental and personalized gift.2026-03-23 CassoRead More > -
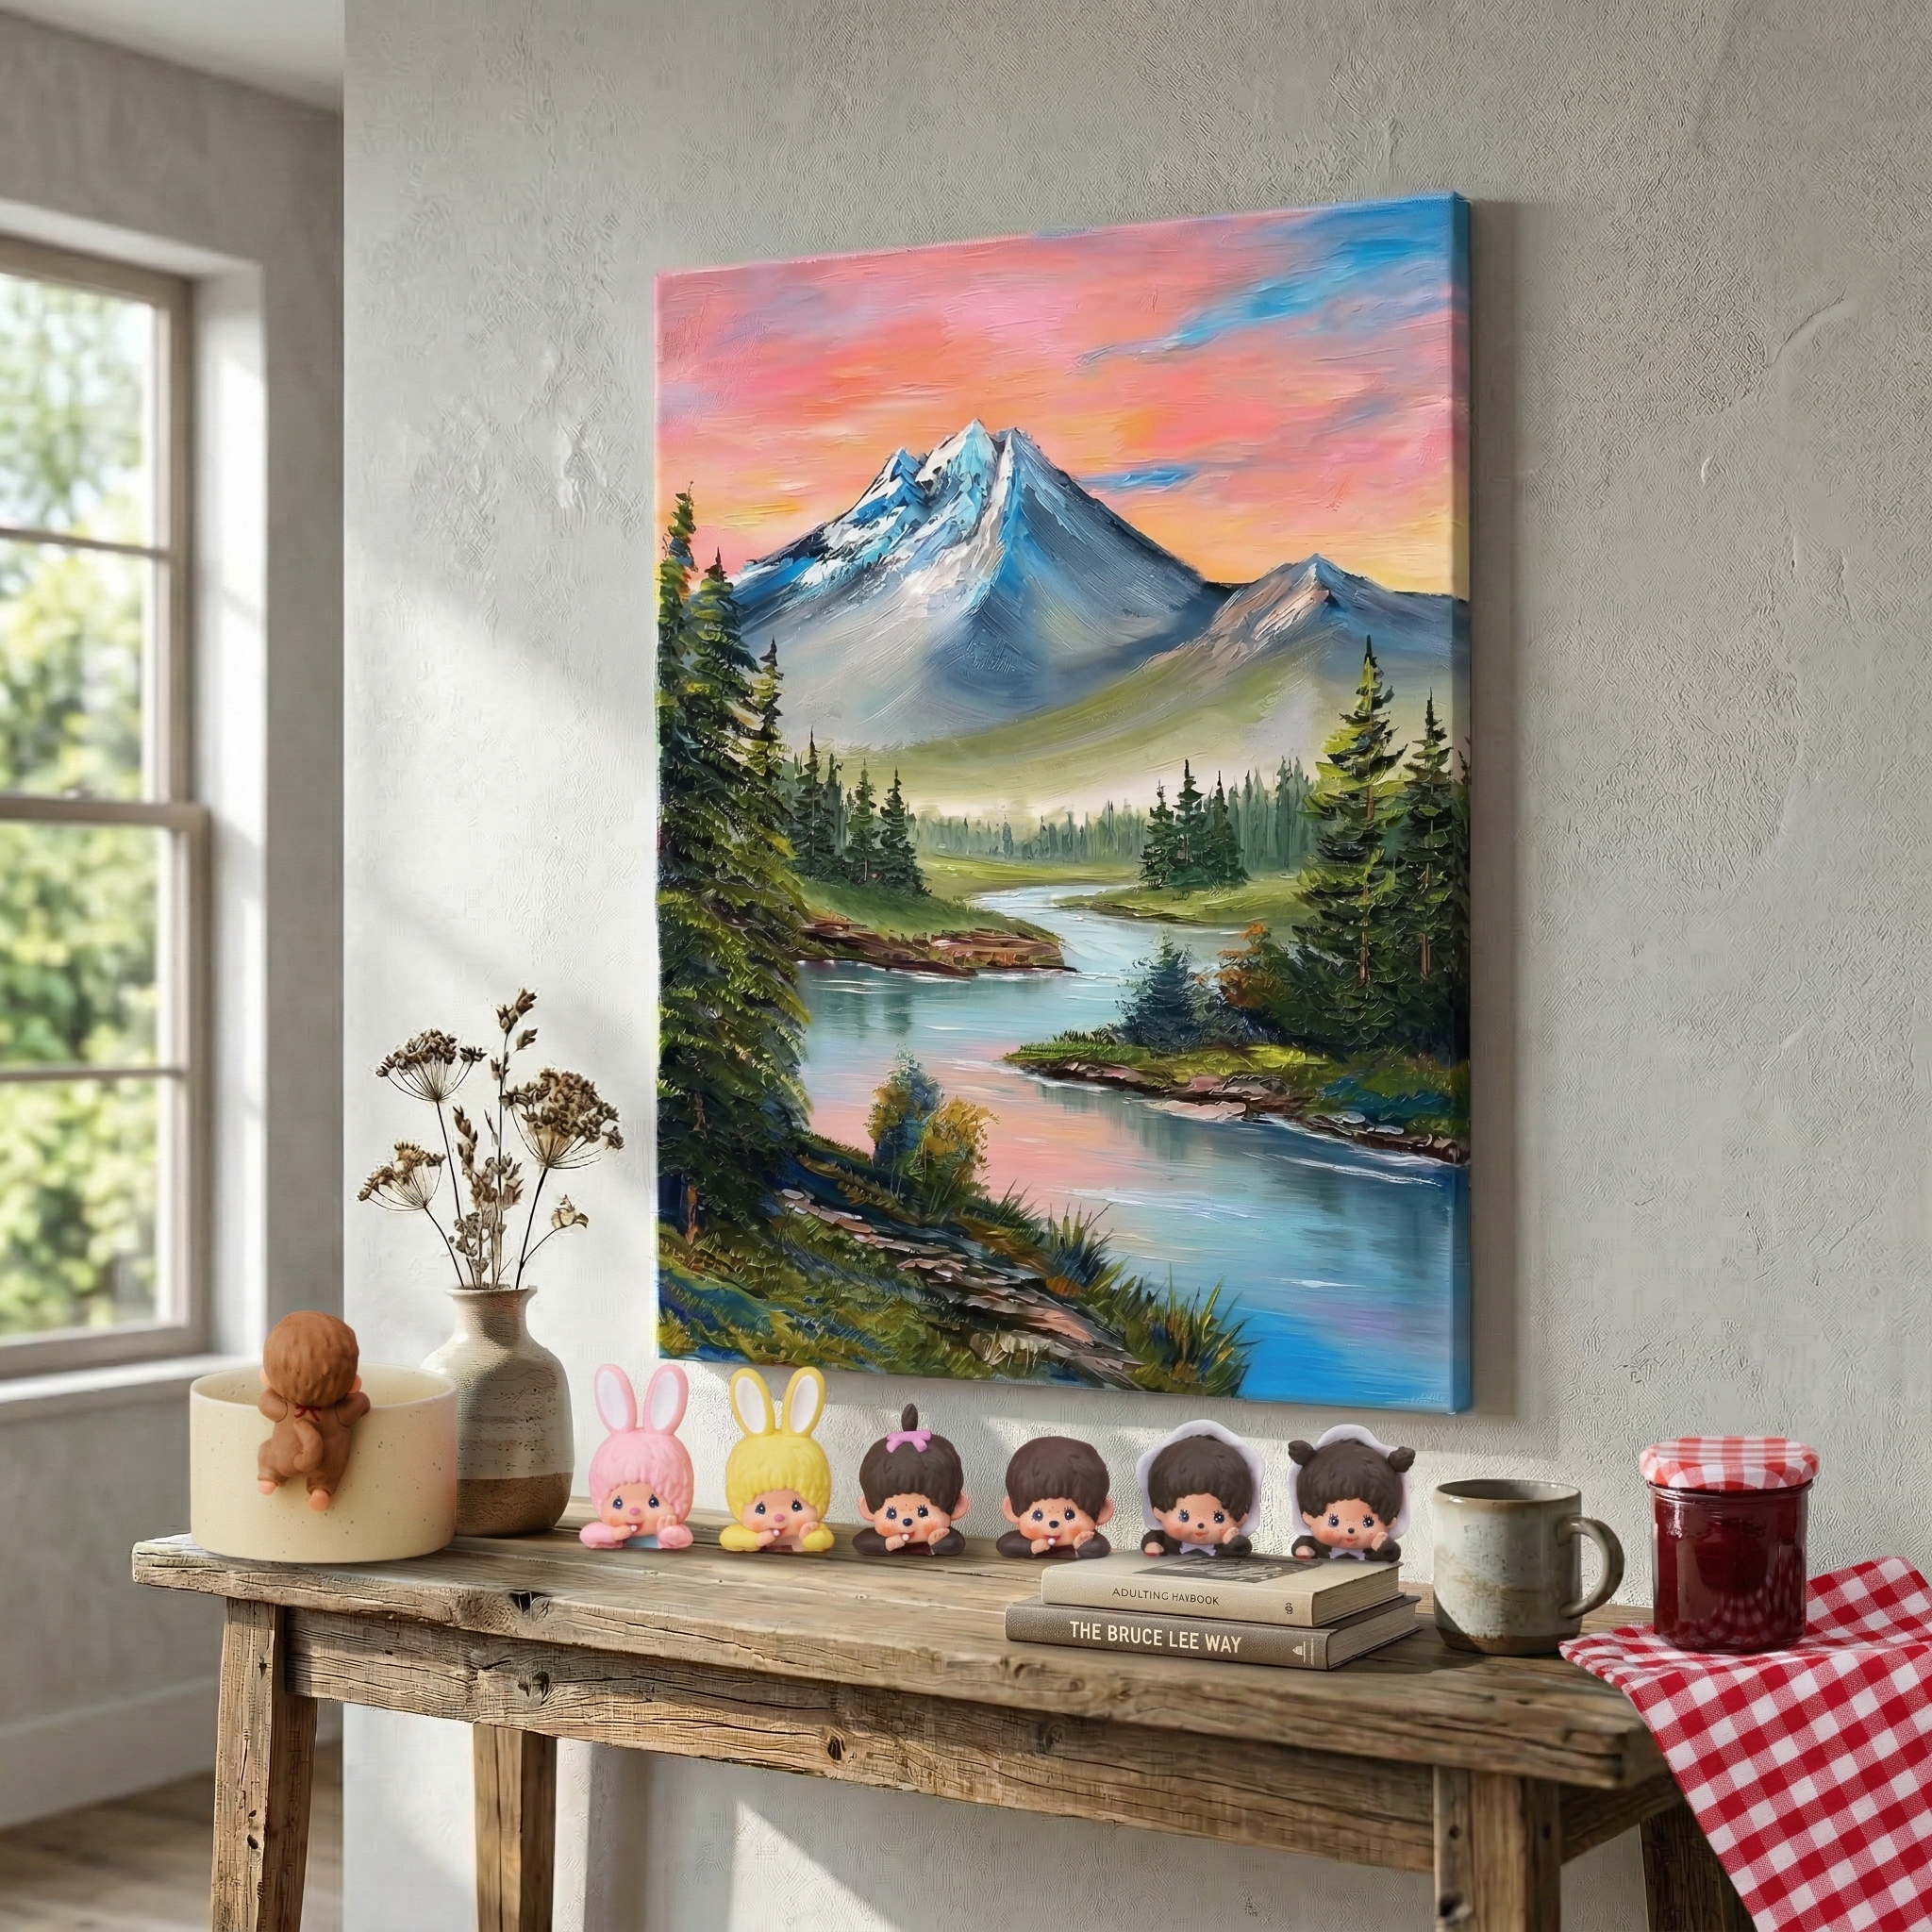
The Art of Eclectic Decor: Styling Monchhichi Hippers Decorative Mini Figures with Casso Oil Paintings
Discover the secret to high-low interior design. Learn how to elegantly display pop-culture collectibles, like a "monchhichi hippers decorative mini figures - 1 blind box" pull, alongside the timeless sophistication of Casso hand-painted oil painting2026-03-22 CassoRead More > -
What is the 70 30 Rule in Art?
Discover the secret to perfectly balanced artwork with the 70/30 rule. Learn how to apply this simple composition ratio to your colors, details, and oil painting supplies to instantly elevate your next piece.2026-03-17 CassoRead More >